simple and cost effective process of employing a board on the ground. When using glue, it’s vital to apply it quite slowly and make sure there are no air bubbles. To give a better result, when using the adhesive, place a small amount on the underlayment first then work your way up the plank. This helps ensure that the glue doesn’t dry too fast and leave any air pockets in the plank. It also will help give the underlay a much better feel.
Strip the Underlying Or Foundation Slate – A Guide For Homeowners
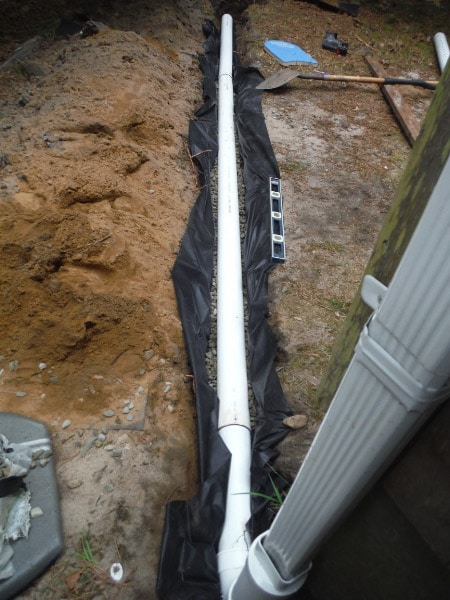
The most significant part Underpinning or Foundation slap would be to ready the ground. First remove any loose dirt, dust and then any loose dirt. If you have any loose components such as claws, then carefully tap them off using a hammer before starting the procedure. A bit of oil helps the paste to remain moist longer. This will stop it from stiffening up.
Strip the Underlying Or Foundation Slate – A Guide For Homeowners
Take a flooring spacer and place it below the board. Try to center it directly on top of the plank. Remember to account for the footboard. Once this is in place make sure it’s the exact same thickness all the way round. This will give the impression that the board is connected to the ground directly – it does not have a floating surface beneath it.
Strip the Underlying Or Foundation Slate – A Guide For Homeowners
Next fill in the gap below the board using either adhesive or finishing tape. You are able to use unique materials - it's simply important that it functions as a barrier into the adhesive. After this is done press down the board securely - it has to be held in 1 position otherwise it won't stick. If need be slide the finishing tape along any rough edges to soften it.
Strip the Underlying Or Foundation Slate – A Guide For Homeowners
For the best results cover the entire floor area with the tape – including the baseboards. By employing multiple layers that this will stop any motion during use. This also functions to stop dirt from getting underneath the board.
When the adhesive has dried thoroughly employ finishing underpinning melbourne glues on the board. Start by using a square board. Work your way around the room, covering every surface with a couple of layers of glue. This will help make the planks stick to one another. Once you are pleased with the consistency of the glue, use a finishing paste to complete.
Once the adhesive dries use finishing glue again to provide the board a smooth end. Repeat the procedure for the boards between the baseboards and over the underpinning. The secret to providing a professional finish is to make certain that each board is coated in glues. Applying too much glue will allow it to be weak and fall apart before it’s even had a opportunity to start working. This resembles covering the floor with plywood – if you do it wrong the floor won’t stand up correctly.
When you are finished, allow 24 hours for the adhesive to dry before removing the planks and placing them back onto their legs. As soon as you have the underpins positioned properly then attach the baseboards and then wait for them . This might take some time depending on the sort of boards you might have. Once they have all dried then you can attach the trim board and you’re finished. Now your underpinning or base slap flooring will last for years.
To keep your flooring looking great after the adhesive has set correctly you need to clean the floor on a regular basis. For that you should either use a damp cloth or a damp mop. Never use a wet substance on the ground as this can cause damage to the flooring. You should also check beneath the legs of furniture for any debris that has worked its way into the adhesive. If you find any broken or loose bits try to squeeze them back in place in order that they work their way out correctly. Small gaps will appear in the flooring at first but will soon go off.
Even though these floors can be quite helpful when used as a ground, they can also be perfect for generating additional storage space beneath. So in case you’ve got a shed, garage or space in your garden you can install shelving units there. Alternatively you can put pins in the ground and operate your power cable through them. As long as you use a non stick surface under the hooks you may be certain that your floors is protected from accidental drops.
As soon as you have installed your flooring you’ll have to make sure that it remains in good condition throughout the year. This is best done by performing regular maintenance patterns on the floor. If you’re having your stripping project completed by a professional, then they will probably perform a complete inspection before you depart. This will allow them to spot any problems such as damaged glue down or draining seams early on.